Sunday 30 June 2013

Fake eyelash tutorial and review of MAC fake eyelashes number 4!


Price I Paid
The lashes retail at £10.  This is much more expensive than most lashes but they do last longer as well as I have managed to use these 7 or 8 times already and they still look great!  Just make sure you carefully pick off the glue when you are done with them.  Many people say to use tweezers for this but in my opinion that often ends up ruining the lashes so just pick off the huge bits of glue and leave the smaller bits.  It makes application easier if there is a bit of glue left on from last time actually, as gross as that sounds. Also I normally leave this job till the morning after my night out as it isn't worth the stress after a few drinks.  It is a bit disappointing that these lashes from MAC don't come with any glue especially at this price, but any eyelash glue will work with these lashes.

Design
I like lashes that are quite wispy rather than ones that have thick lashes clumped together.  I think these MAC number 4 lashes look really natural, they enhance your natural lashes rather than make it look like you have the often named "caterpillars" stuck to your eyes!

Colour
The lashes are pure black and blend in well once my natural lashes are coated in mascara at the end of the application process.

Application
I find it easiest to apply lashes using the method below although people apply them using many different techniques.  
1. Put on your eyeshadow first.
2. Peel the lashes carefully off the plastic base they come up. Then cut the eyelashes (with nail scissors if you have them but any scissors will do) to the length suitable for your eyes.  You can do this by holding them against your own lashline and just judging what looks right, make them shorter by cutting them lash by lash as you can't go back once you have chopped a bit off.  I prefer to cut bits off the outer side of the lash as if you cut it from the inside you will cut off the graduating little lashes that make it look natural.
2. Apply a thick line of black eyeliner, I prefer to use my Chanel Waterproof pencil for this as it has good lasting power, don't use a pencil that smudges easily as the eyelash glue might smear it.  Don't use coloured eyeliner for this because the lash band (the strip that all the lashes are attached to) will be black and the aim is to hide this.  If you really want to use coloured eyeliner use it when you have finished applying the lashes on top of the black line.
Click here for a link to the glue that I used
3. Apply eyelash glue to the lashes in the quantity shown in the photo below.  It should be a thick white line of glue just along the lash band of the lashes.  Try not to let the glue run onto the actual lashes as it will make them stick together, while the lashes are drying you can rest them with the glue downwards, but not touching, the plastic they came on.
4. Wait for the glue to dry. On most packages of glue this states that it needs 30 seconds to dry, I always find it needs a minute.  Don't apply the lashes until most of the glue has dried or you will find that it sticks to your real eyelashes and this hurts to remove.  The semi-dried glue should look like the second glue picture below.
5. Apply the lashes to just above your natural eyelashes. I find it easiest to wink so I can still see rather than doing it without looking (or maybe i just like to wink at myself?) and tilt my head towards the floor while using a mirror positioned higher than me to see where the lashes are going on.  I think it is easiest to apply the lashes from the inside corner first to make sure it is all lined up properly.  Make sure you do not apply them right into the corner of your eye as when you blink you will feel them, apply them half a centimeter from the inside corner.
6. Wait for the glue to dry completely.  This takes about 5 more mins so go get dressed while you wait! 
7. Once the glue has dried go over the glue line with a black eyeliner.  I just use my pencil eyeliner over it but as my friends always tell me it probably is better to use a liquid eyeliner but I don't have a waterproof liquid eyeliner at the moment so I just make do.  The aim of this step is to cover the shiny glue to make it blend in with the rest of your eyeliner.
8. Use your eyeliner to line your bottom lashes, it is best to put a line inside the waterline of your eye but if you find that uncomfortable just do it however you normally would. Make this quite a bold line as your top lashes will be quite bold so you want to even the look out.
9. Use a mascara that has not gone clumpy and put one thin coat over all of your real and fake lashes.  This is to bind them together a bit so you do not look like you have two layers of lashes.  I really recommend using the newest mascara possible for this as clumps in fake eyelashes looks awful!  Also make sure that when you coat your bottom lashes in mascara you do not get clumps as you want them to look as wispy and spread out as your top lashes.  
That is it - off you go!
10. Remove the lashes by just peeling them off from the corner.  If you have any excess glue you will need an oil based eye makeup remover to get rid of them, Lancôme's Bi-Facil eye makeup remover is amazing for this.

Overall Reaction 
I love these lashes by MAC they last really well and look very natural (compared to most other lashes) and I would definitely re-purchase them!
10/10


MAC False Eyelashes Number 4 On Up Close 
(click on the images to enlarge them)


Looking Up


Looking Down

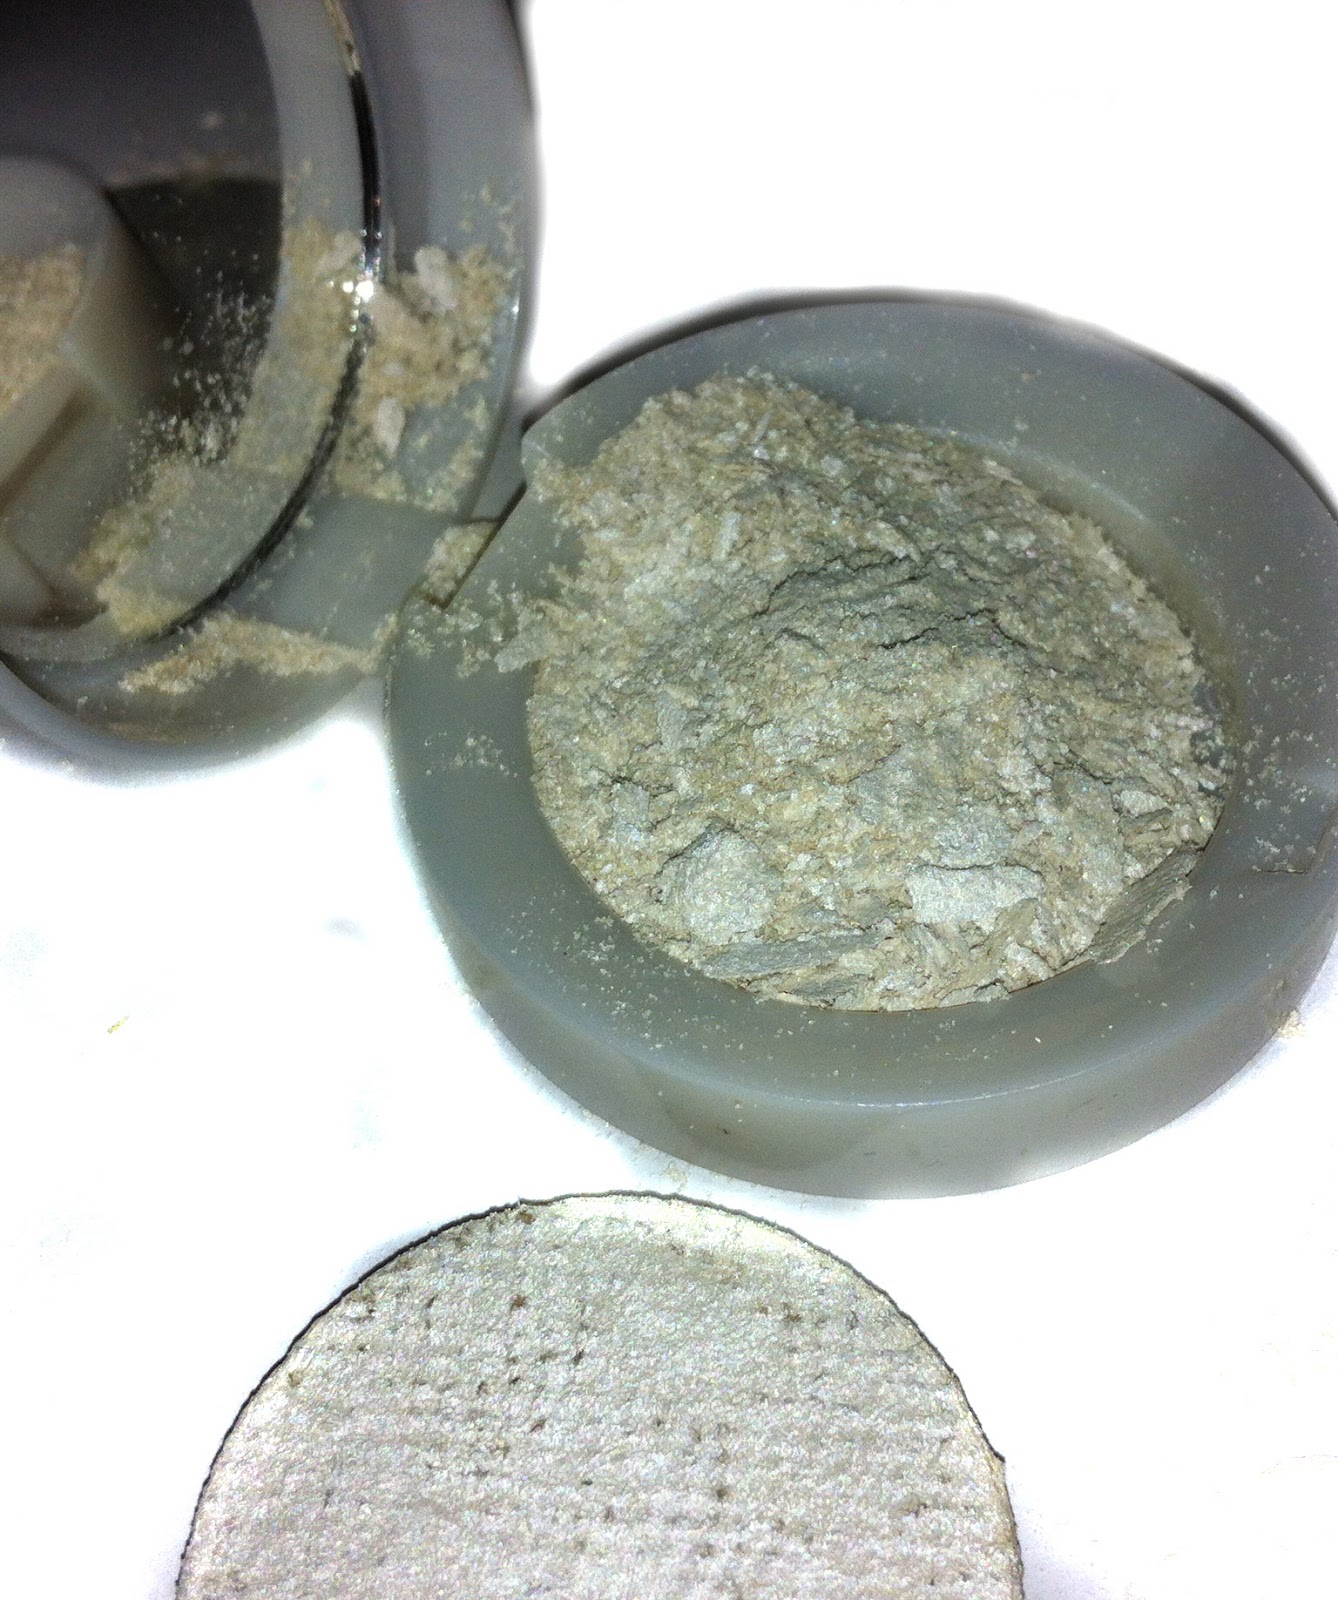
The Packaging and lashes

Applying a thin layer of lash glue to the lashes


Wait as long as it takes for the lash glue to dry and look like this before applying to your eyelashes.

Removal is so easy, just peel off! 


Friday 28 June 2013

Mozerella and Sun Dried Tomato Salad Review


Ingredients/Price I Paid
You need half of one packet of mozzarella cheese which you can buy for about £1.20.  Fresh or from a jar sundried tomatoes £1-2 and a bag of mixed lettuce which is roughly £1.

How to make
Making this salad is incredibly quick and easy! Cut the bag of mozzarella open and drain the water into a bowl. Slice half the cheese into medium sized slices as you can see in the picture and put the rest back into the bowl that has the liquid in.  Cover the bowl with half the mozzarella with clingfilm and put in the fridge for day 2 of this salad. Then chop a few of the sundried tomatoes in half if they are quite large and just put them on top of some lettuce!

Colour
This makes for a colourful salad especially if you find a pretty looking bag of mixed salad leaves.

Smell
This salad does not really have a smell.

Variations
The sundried tomatoes have a very strong taste though so some people might like to swap them for sliced big tomatoes.  It is also nice to add avocado to this salad as another texture, it only needs half of one so you could try smearing the rest over your face as I did in this previous post!

Overall Reaction 
A very quick to make student friendly basic salad that is not too expensive as you can make two salads out of all the ingredients. 
10/10

Wednesday 26 June 2013

Thomas Sabo Apple Necklace Review

This is a necklace my brother bought me for my 21st birthday, it is a really cute little red apple on a necklace by Thomas Sabo.  The brand was started up 1984 and claim to focus on the wearability of their pieces. The concept is primarily that you buy the charms individually and then buy either a necklace or bracelet to carry the charms.  The charms are mainly sterling silver and retail at roughly anything from about £25-£100. There are so many quirky ones to choose from it is easy to find one that reflects your personality and looks unique.  Thomas Sabo also sell necklaces, rings, bracelets and keyrings that do not just carry charms but are designed to be worn in their own right so there is something for everyone.

The reason I love this necklace so much is that it really can be worn with almost everything.  It is ideal to wear in the day to smarten up casual clothes a little without turning what i'm wearing into an evening look.  The apple is playful and fun because it is a little bit different to the average (heart/star/circle/square) necklaces that people mostly own.  In the day I prefer jewellery that is a bit interesting (in some other cases my friends might argue strange) because if you are going to wear a piece of jewellery then it is a statement in itself so you may as well choose something that other people will look at and think is distinctive and eye catching.  When I think of apples I think of them as being fresh and pretty so wearing it makes me feel all summery which I love!

The clasp is really easy to do up myself which is a bonus.

This charm has been put on a pendant converter and a fabric chord although there are lots of other chain styles to choose from.


Overall I would rate this necklace 10/10!!

Monday 24 June 2013

Dripping Or Slime Effect Nails

I started with a base coat of Barry M's Foil Effects in Gold.  This varnish is very thin which is what you will need for this technique.  Only use polishes that are in good condition for this because you want them to drip slightly.

I used MaxFactor Max Effect polish in Intense Plum for this. When you take the brush and dip it into the varnish, don't wipe off too much of the excess. Move the brush from half way up your nail to the tip depositing as much of the colour as you can at the beginning of the stroke to make a bit of a blob.  Judge the quantity carefully though as you want a dripping effect but you do not want it to actually drip off the brush or it will end up a mess and take forever to dry.

The trick to this effect is using your base colour to go back over inbetween the drips you have made from the opposite direction of the middle down to thin out the darker drip lines you just created.  Use the same "blob"  technique to enhance the efffect of the blob from the other direction.

The finished result

The other hand, applying the dark drips middle to top.


The other hand applying the base colour inbetween drips in the direction of the middle to bottom of the nail.

Other hand finished result.  It was a little messier as I dripped the gold base colour onto my nailbeds but nothing that couldn't be cleared up with a cotton wool bud dipped in nail polish remover.

Sunday 23 June 2013

L'Oreal Elvive Extraordinary Oil ( For All Hair Types) - Review and Swatch


Trial sachet


Swatch of the product

Price I Paid
This is a free trial pack but it retails at £9.99.

Design
The trial packaging turned into a bit of a mess as the oil seemed to go everywhere but the full size version is a convenient pump.

Colour
The oil is clear on my hand but in the pot is slightly brown

Texture
An oil

Application
You can apply it in many ways, it only requires a few drops and it can be used on wet or dry hair and before or after a shower.  This product is great, I used it a few hours before I got in the shower because my hair is quite fine and dry but adding oil to it is never a good idea.  I just put two drops in the lengths and ends of my hair and massaged it in for a minute.  Although I washed it out this product felt really luxurious and made my hair smell great!  I would definitely not reccomend this for hair that is already slightly oily and I wouldn't use the product anywhere near my scalp as it would be too greasy.  It is perfect for dry hair to use just at the ends and in a very small quantity and I would imagine it would make thicker hair look and feel great too!

Smell
Smells really good, slightly similar to cinnamon!

Ingredients
Contains 5 different flower oils.

Overall Reaction 
This product made my hair feel and smell lovely but I would not use it too frequently because it would make my hair too greasy.
8/10

Friday 21 June 2013

Nivea Soft Face Body Hands - Review and Swatch


Price I Paid
This is a trial version but the full size version retails for £6.02 in Boots.  Quite a strange price actually I don't know why the extra 2p was necessary!

Design
The trial is a cute round pot with a resealable lid which is really nice because I got about three uses out of it!

Colour
The product is white

Texture
A really lovely moisturising thick cream.

Application
Can be used on face, hands and body.  I think this is great because it is very moisturising and despite it being a very thick cream it still spreads evenly.  It does not take too long to dry it needs a minute or two though as it does not sink in instantly but I didn't mind this as it did not leave a greasy residue.  My skin felt really soft after using it! 

Smell
Nivea products have a distinct smell like baby wipes or baby powder. My mum actually commented on this smell a few hours after I used the product so the smell is quite strong and lasts a while.

Ingredients
Vitamin E and Jojoba oil are great moisturisers.

Overall Reaction 
I would definitely consider purchasing the full size version as soon as my giant bottle of Palmer's cocoa butter runs out!  This cream is a bit too heavy to use on my face though as it clogs my pores so I would recommend it for people with quite dry skin to use just on their body
9/10


Thursday 20 June 2013

Apple Ring - Review


My mum bought this ring for me in a craft fair a few years ago.  It is made of gold and silver plated wire and has a little round garnet in the middle.  The ring was crafted to resemble an apple which is really cute!

Birds Eye view.  It looks warped because I chose to bend it as I prefer a slightly oval shape to ring itself if possible as I am not too keen of the feeling rings inbetween my fingers.  Obviously it still has to slide on and off so there needs to be a bit of space at the sides but if the space ends up at the front and back of the ring I find it significantly more comfortable!

On my finger, view from the front.

Another view from the front.

The ring is easily adjustable but not so much that it falls off.

Wednesday 19 June 2013

Gradient Pattern Strip Nails


What you need:  Three contrasting nail colours it is easiest if two are lighter colours and one is very dark.  For the pattern you will need a piece of tin foil/plastic, a cosmetic sponge, some striping tape, a cotton wool bud and some nail polish remover.  It is a good idea to use a top coat for this design.  

I painted a base coat on my nails of Nails Inc Mayfair Mews and let that dry.  I only used one coat as it was quite thick and this design required a lot of layers.  I then put a few drops of MaxFactor, Max Effect polish in Intense Plum onto a piece of tin foil.  Dip the tip of the cosmetic sponge into the darker colour and just dab it onto each nail in a gradient style. 
Note:  You can use other types of sponges but cosmetic sponges tend to be quite dense and spread the product nicely! You can re-use your cosmetic sponge for this technique by cutting off the part you used with scissors.

It does not matter how perfect the gradients are or which direction they go in, it is up to you but I chose to do mine at all different angles.  If you are messy like me you will need to use a cotton wool bud dipped in nail polish remover to get rid of the polish that ends up on the outside of your nails.

The gradient should look something like this.  You could just stop here if you wanted to but I did these very roughly as they would be under the next coat.

Wait for the polish to completely dry before starting this step.  Attach your striping tape in whatever design suits you and then put on your third colour.  Click here for a link to my striping tape tutorial for this step. Click here for my second tutorial on nail striping tape.

I used Rimmel London polish in 416 night flight.  Annoyingly this polish was quite dried up despite the fact I have only used it a couple of times and have not had it for too long.  I am not a huge fan of Rimmel products because I find they are generally quite bad quality and overhyped.  Because I had already painted the first nail when I realised I had to persevere but it really did ruin the effect of this design which I think was a shame.

I did not have a normal clear top coat at uni so I used Rimmel's matte finish top coat.  I still quite like how they turned out and they lasted for a good couple of days.  They just ended up looking so messy because of my silly decision to use a dried up nail varnish.  At some point I will try this technique again with a better polish and see how it goes!

The finished result!


Tuesday 18 June 2013

How to fix broken powder makeup - photo instructions

This is a Bourjois eyeshadow in Blanc Diaphane


As you can see the eyeshadow tray has fallen out and the product had started to crack and crumble.  

I decided to put the product direct in the pot instead of back on the tray it came with because the tray was made of wood so it would not work as well.  I used some hand sanitiser to just clean the pot it came with before putting the rest of the product back in.

I then scraped the product back into the original tray using scissors.  If it is already in the tray you want to use just mash the product up finely.

The product crumbled back into the original pot and empty wooden tray.

You will just need a few drops of alcohol.  It is better to use more concentrated alcohol but I only had vodka which is 40% so I decided that would have to do.

It just needs a few drops

Then I put some plastic wrap over the product and pushed the product around to make a smooth paste.  You could just use your fingers or a stick to do this but I didn't want to get too messy.

I then tried to blow dry it, I don't think this step is worth doing unless you are in a rush because it hardly dried out this way.  I wouldn't bother with this step if I did this again.

It was still a paste after blow drying!

I tried squeezing the alcohol out with a cotton wool pad.  This was much more successful and most of the excess alcohol came off with this step!

It did however leave a weird imprint in my product but after a few uses this will flatten out again.  

After leaving it for another hour it was dry again and not cracked so could be put safely back into my makeup bag! 

As you can see here, the product is still just as pigmented.  In fact i actually think this process increased the pigmentation of the product as I pressed it firmly so the product became slightly denser.